AWS EC2 & ClusterCS
How to setup and manage AWS EC2 instance (AWS Free Tier) with ClusterCS
Cluster CS works with any VPS or dedicated server.
AWS is one of our current partners and our technical team is constantly keeping our system up to date with all the new functionalities that AWS might launch.
Setting up an AWS instance with ClusterCS is very easy and straightforward only requiring two steps.
- STEP 1: Deploying an AWS instance and obtaining the SSH KEY
- STEP 2: Run the setup process on Cluster CS with the AWS credentials obtained in Step 1
STEP 1: DEPLOYING AN EC2 INSTANCE
a. Log in into your AWS Console.
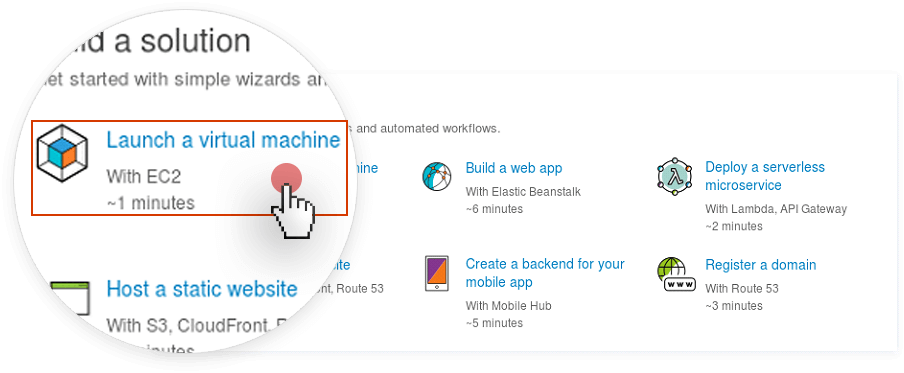
b. In the AWS Management Console, you can launch a virtual machine:
c. Get started by naming your Cloud Instance
d. Select an OS for your server. ClusterCS works great with Amazon’s own Linux AMI.
e. Select the instance type
Next you will have to download the Key Pair, as you will use it later to both connect to your VPS using SSH, and for ClusterCS to manage your server.
Save it somewhere safe, you cannot recover the key in any way.
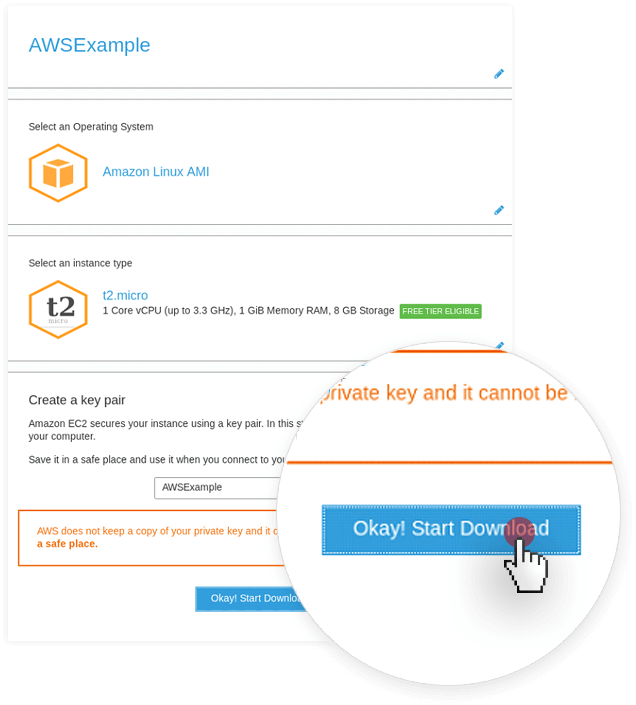
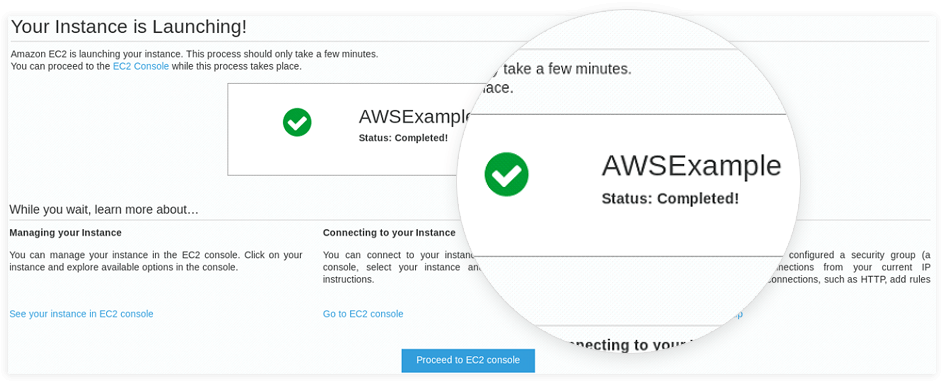
f. Once you stored the SSH key and you clicked “Create this instance”, you should see this screen:
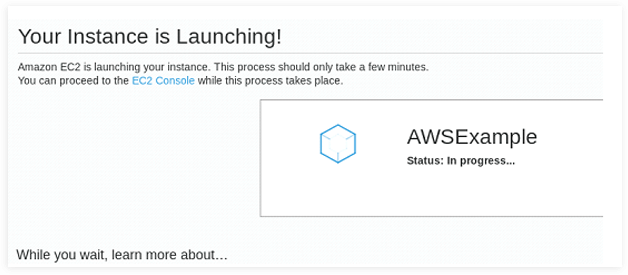
g. The creation of the cloud instance takes a couple of minutes. Once the Status is Completed, you have a working server!
STEP 2: Managing your EC2 instance (server) with ClusterCS
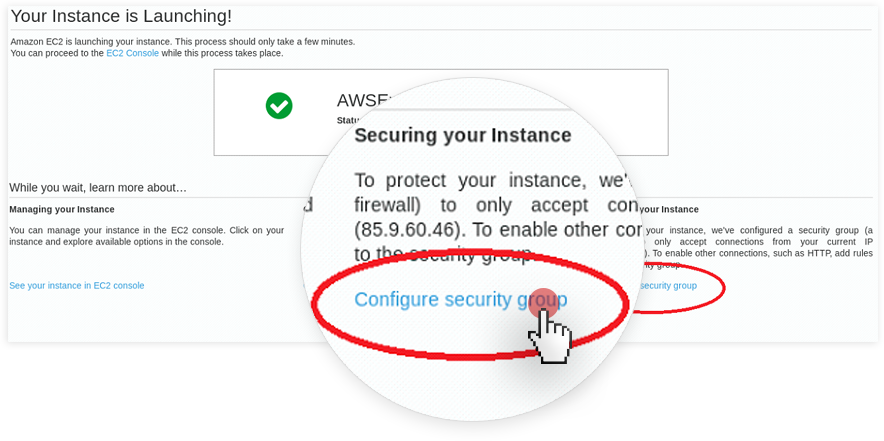
Explanation: In order to have ClusterCS manage your newly EC2 instance, you have to allow connections to it. From the same screen, you should click Configure security group. A security group is a set of allows and politics in the AWS firewall which shield your newly created instance.
a. Open the Configure Security Group
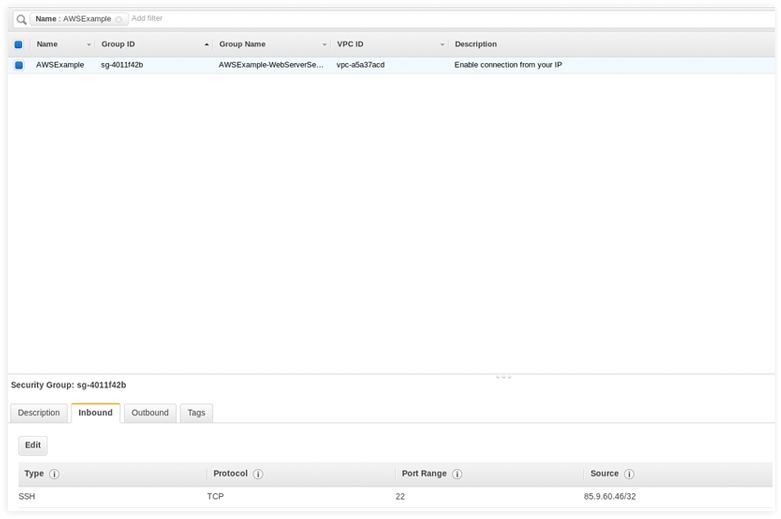
b. Now, you can only unlock the ports that you will use.
But as an alternative, since ClusterCS has its own secure and very well-setup firewall, you can just allow all the connections.
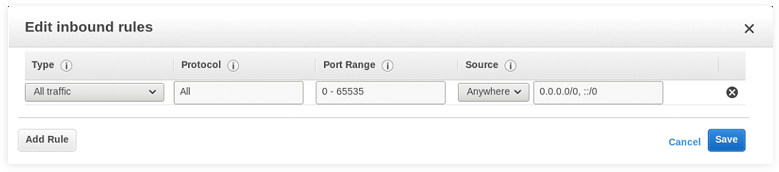
Once you complete steps 1,2 your server is ready to be managed!
c. Next step is to take the Public IP which ClusterCS will further connect to.

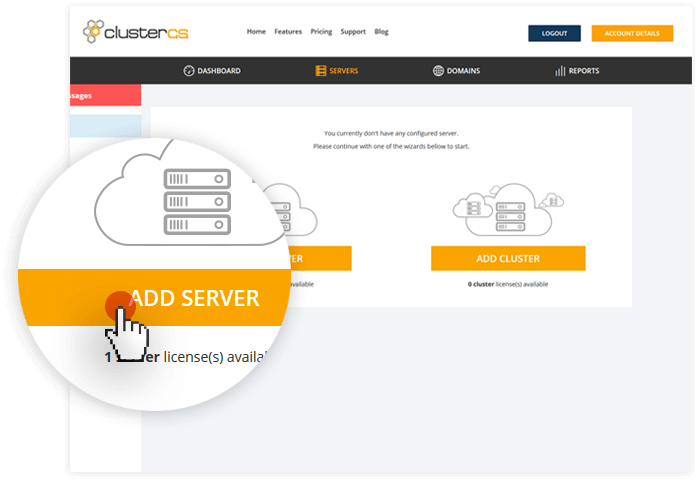
d. Log into your ClusterCS account and then navigate to Servers and Add Server.
e. The information you need to provide is the following:
.png)
Server IP: The IP you just copied from the Management Consoles
SSH Port: 22
User: ec2-user is the default user for all AWS Free Tier Instances
Login type: SSH Key
SSH Key: You have to copy the content of the Key you downloaded earlier on.
SSH Key Password: Leave it empty
Host Name: It is only an identifier, you can name it however you want.
f. The next step is choosing a server recipe (configuration).
We recommend the default, standard LAMP as it has everything it needs to serve websites in an optimized way.
The Setup Name is of your choice, you can pick whatever you want, as it is only used by you as an identifier.

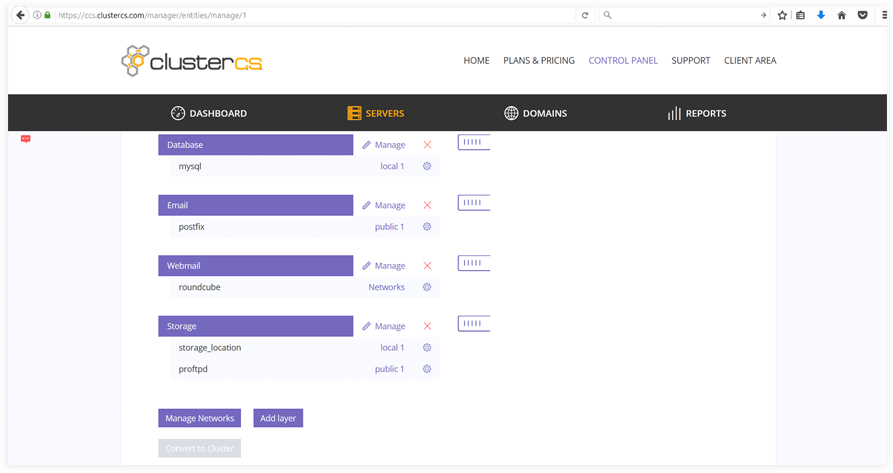
g. Click Save and from this point on, after a 5-10 minutes wait, your setup will be operational, and you can get started with managing your server.
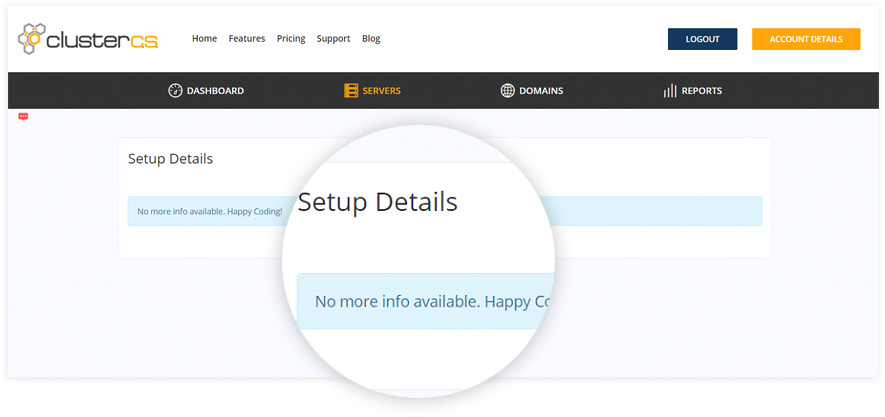
.png)
h: This message appears when your server setup is ready. This means your server was successfully added to ClusterCS and you can start using it.