

Manage Environments
Let’s see how you create and manage development environments.
In the domain section, you have all your domains listed. Expand the one you want to work on and click on the Dev Env button.
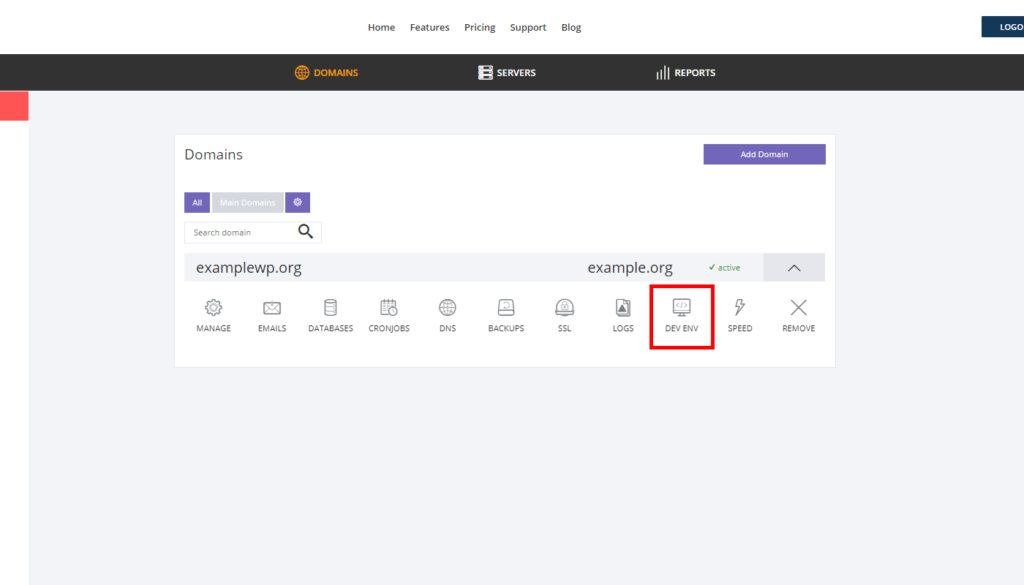
This will take you to the Development Environment section of the selected domain.
Click on Manage Environments to access the area where you can create and delete environments.

Now you can enter your new environment name, for example, dev1 and click Add new environment.
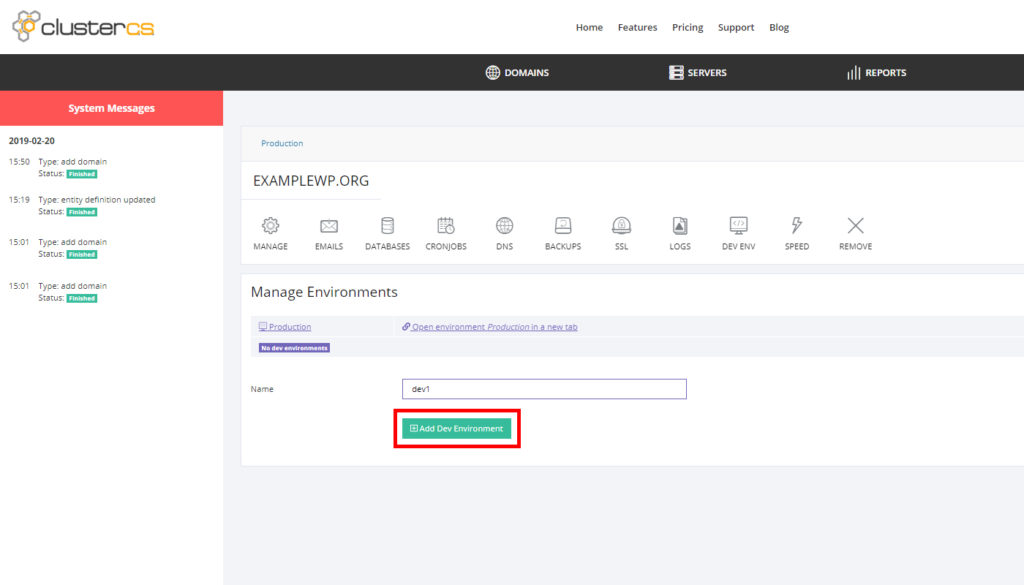
This will save your environment request and ClusterCS will start building it. This should be a very short operation taking less than a minute and you can see the progress and when it is ready in the left notification area.

Once the new environment request completes, you are ready to start using it. Either upload new files to test there or migrate from Production or any other environment to it.
In order to create a database for this environment, you need to make sure it is selected as the active environment at the top and then click on Databases.
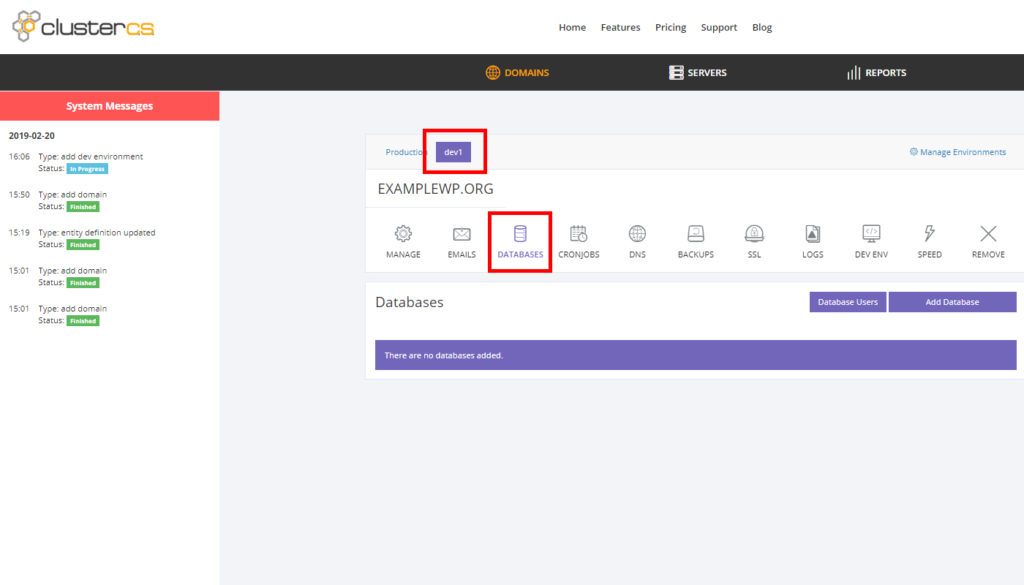
When you add users and databases in the Database section, they will be added for the selected environment.
Backups, Logs and Speed rules are managed in the same way. Make sure you have the environment selected at the top and click on the desired section.
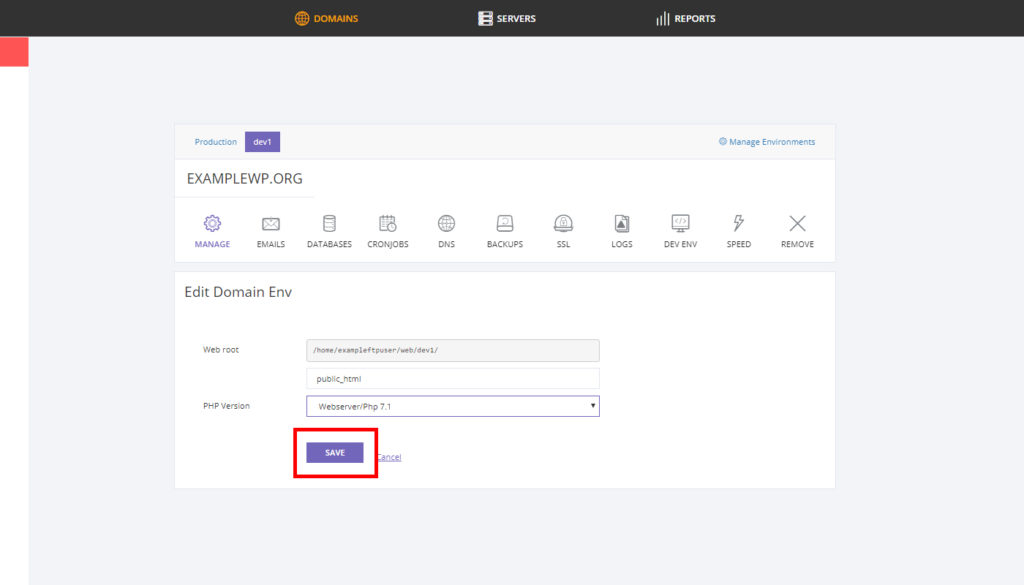
In order to change the Web Root or the Php version, you need to go to the Manage section. As always, make sure the correct environment is selected at the top.
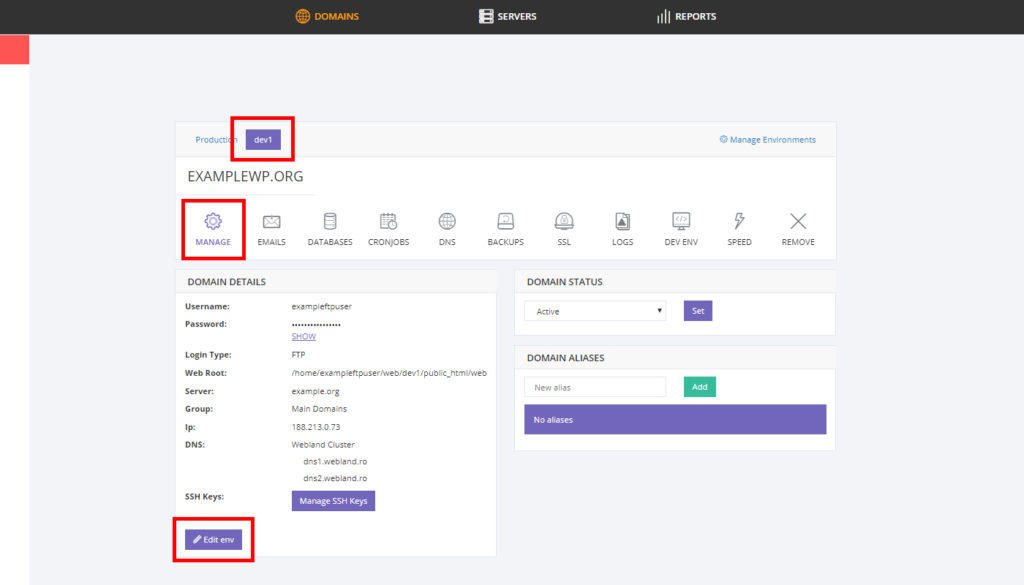
Clicking Edit Env will open the page that allows you to change the Web Root and Php version. Once you made the changes, click save and your request will be saved and executed by ClusterCS.
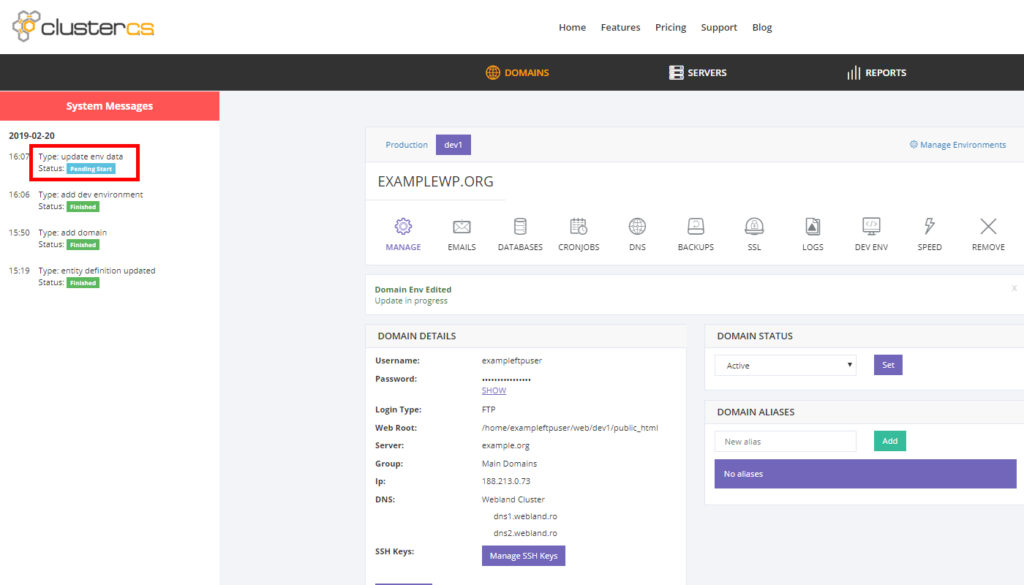
Track the status of the request on the left notification area and once it completes, your changes have been applied on the server.
Please note that when you are migrating from another environment to this new environment you have created, most of the times you don’t need to manually create new databases as the migration process comes configured by default to build all the resources automatically. Please read the <Migration> article for a deeper understanding of this process.
When you no longer need an environment, go in the Manage Environments section and click the delete icon for the desired environment.

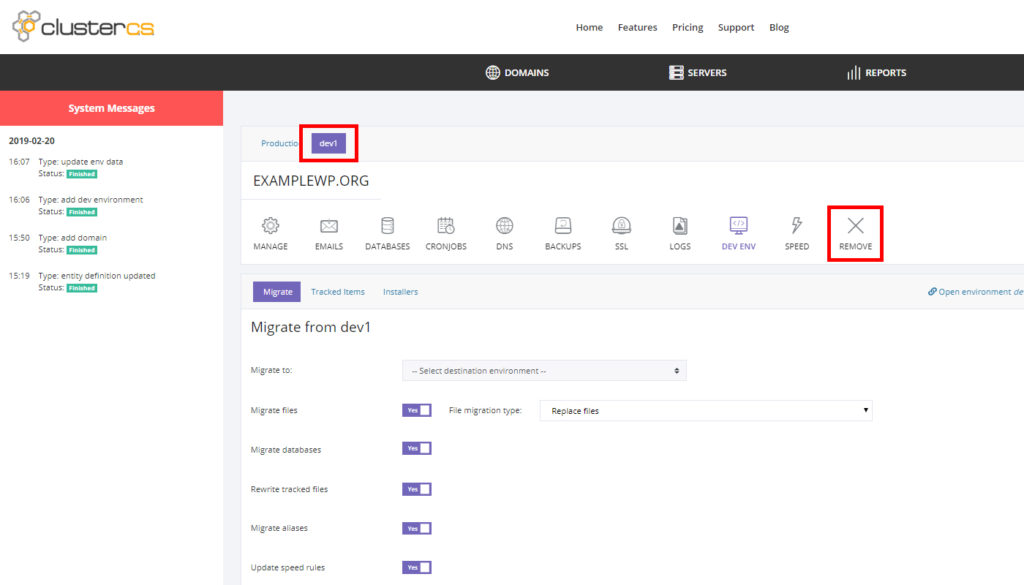
Alternatively, you can select the environment you wish to delete at the top and click the Remove button in the main environment section buttons area
Please remember that deleting and environment will delete all it’s associated database and users, backups and speed rules.
Production environment can’t be deleted from Manage Environments but only by selecting Production at the top and clicking the Remove icon.

Deleting the Production environment is equivalent to deleting the entire domain with all environments and all resources.
When you delete an environment it’s server path and anything underneath it will be removed. For example, when you delete the environment “dev1” the following path with all files and folders under it will be removed.
/home/<user_name>/web/dev1/When you delete the Production environment which is equivalent to removing the entire domain, the entire user path with all subfolders and other environment paths will be removed.
/home/<user_name>